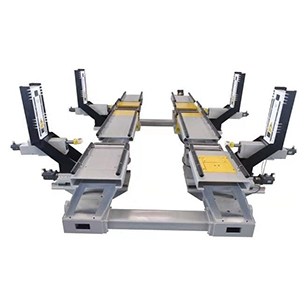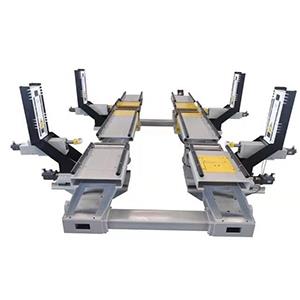
GYWB-4 non-contact four wheel aligner

The non-contact four-wheel aligner is a special equipment for measuring and adjusting the wheel alignment of the assembled vehicle. The locator is used to locate and measure/determine the four wheels of the vehicle to ensure that the wheel alignment meets the design parameters and requirements.
This locator uses German VisiCondPP three-dimensional sensor
This sensor combines the advantages of multi-line sensors (such as Siemens CCT), high measurement accuracy, and the advantages of traditional laser sensors, and is not sensitive to ambient light. In addition, VisiCondPP achieved the first stereo optical measurement of the laser beam (with 2 cameras), in other words we were able to measure the actual 3D coordinates.

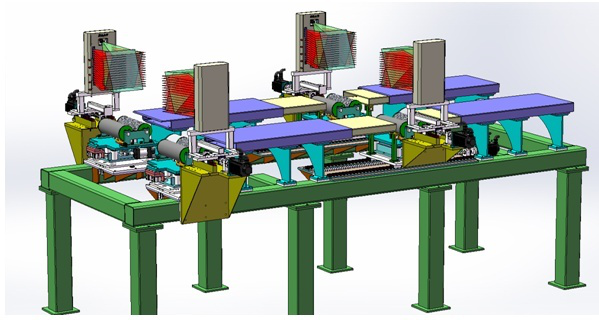
The non-contact four-wheel aligner is mainly composed of the following parts:
Model and function selection device, ground operation display, equipment overall steel structure, 3D laser sensor assembly, pit display device, pit lighting and ventilation device, vehicle positioning device, wheelbase adjustment device, driving guidance device, PLC electrical Control cabinet, steering wheel positioning device, computer hardware software system, pit cover and other parts. It also includes equipment installation and wiring, industrial computer, control cabinet, display system integration, equipment utility power installation, equipment networking, and test data uploading.
Front wheel toe (left/right), front wheel total toe, front wheel camber (left/right), kingpin backwards, kingpin inward, maximum steering angle, etc. The device can repeatedly measure the toe and camber of the wheel through static measurement, dynamic measurement and adjustment. The display in the control cabinet, the front display of the front of the car and the operator display in the pit display the measured values in real time.
Integrated ESC system sensor and steering angle sensor calibration.
1) Measurement method of caster angle and kingpin inclination angle: Indirect measurement method is adopted to calculate the caster angle and the kingpin tilt angle by turning the steering wheel left and right, and display it on the liquid crystal display.
2) Measurement range and accuracy
The toe measurement range is ≥±10°, the test accuracy is ≤±1′, and the repeatability is ≤±0.2′.
The camber angle measurement range is ≥±10°, the test accuracy is ≤±2′, and the repeatability is ≤±0.4′.
The main pin caster angle measurement range ≥ ± 10 °, repeatability ≤ ± 0.2 °, sampling check (indirect measurement mode)
The main pin inclination angle measurement range is ≥±15°, and the repeat accuracy is ≤±4 ° sampling item (indirect measurement mode);
The maximum steering angle is ±45°, and the test accuracy is ≤1° (sampling items)
Body height, test accuracy ±1mm, repeatability ±0.2mm
